Now that you have completed both your onboarding survey settings and questions, you are now ready to add the new hires as recipients of your surveys.
Click on “Add/remove recipients” as shown below to view the employee database.
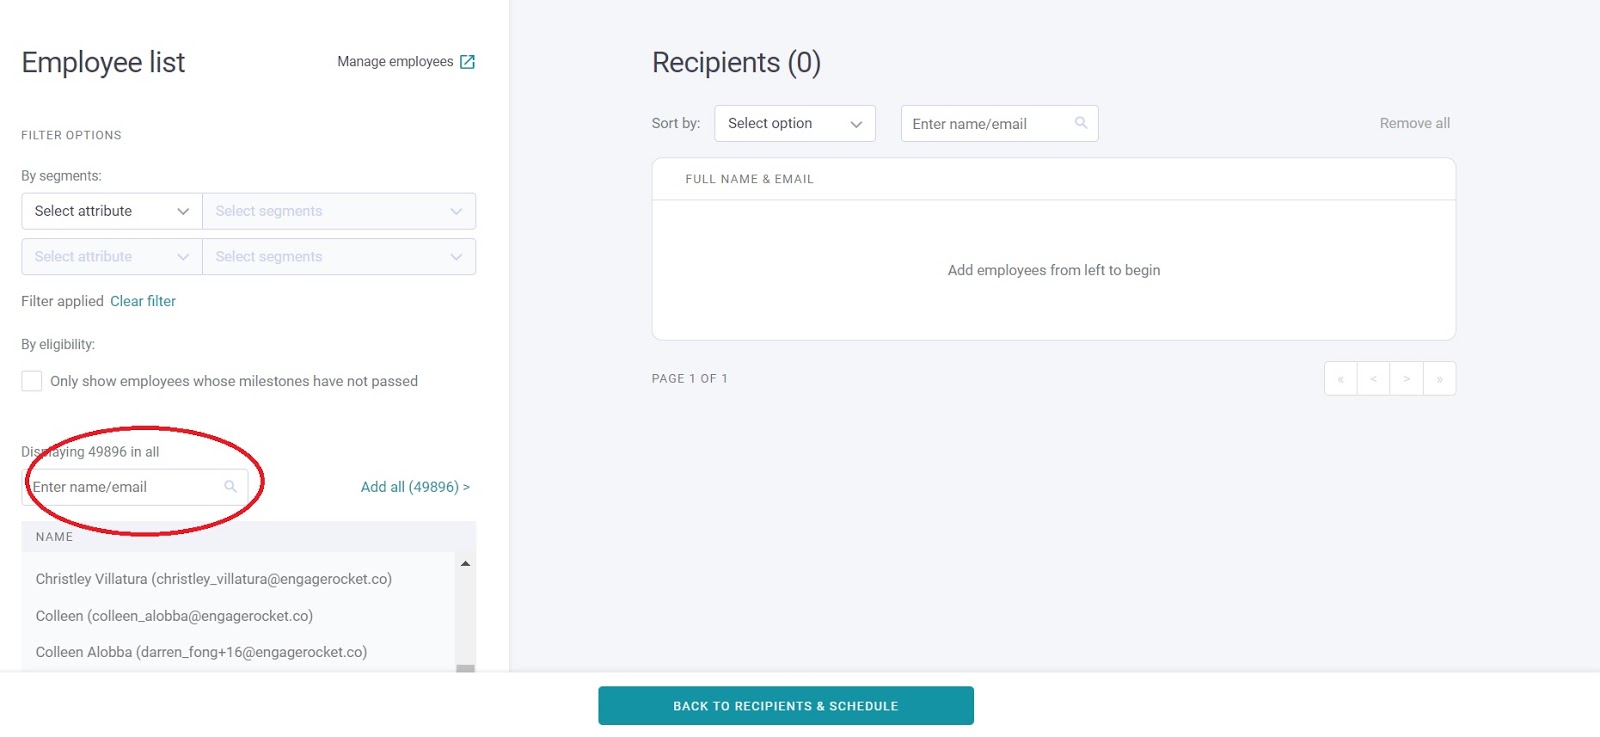
Populating your list
You will find the full list of your employees in the left-hand panel. You may either scroll through the list or make use of the search field to find specific employees - simply click on the name to add them to the recipient list. Likewise, you may also filter the employee list by attributes (i.e. Tenure Range > Less than 3 months) and use 'Add all' to mass add the employees with such attribute data.
Once you have completed adding the recipient list, click on ‘Back to Recipient & Schedule’
Scheduling Recipients
After completing the recipient list, you will find the schedule page updated with survey invite dates automatically populated for each recipient. Our system intelligently reads off the 'Start Date' from your employee database and calculates these milestone dates for you.
Not to worry, while the invite dates are automatically scheduled, you have the flexibility to change or unschedule the date. Even if the milestone has passed for some new hires, the survey can still be manually scheduled if you would still like the individual to complete the survey for an earlier milestone.
If you need to edit your employee’s information, return to the main employee list. Refer to this article on Populating and Updating your Employee List if you should need to make changes to your employee list.
Once you are done adding your survey recipient, click on 'Next Step' for the final step of your survey creation process - Communications Setup.
For any questions, send an email to our responsive support team at support@engagerocket.co We're here to assist you every step of the way!